Today, we'll introduce the methods for piping flowers, and all flowers can be created using the following 10 basic piping techniques! Follow the instructions step by step, practice diligently, familiarize yourself with these basic techniques, and feel free to come back to refer to this section as needed.
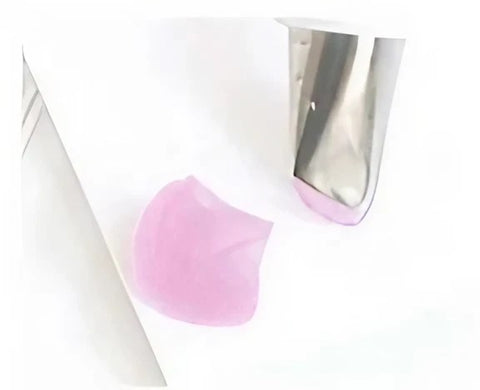
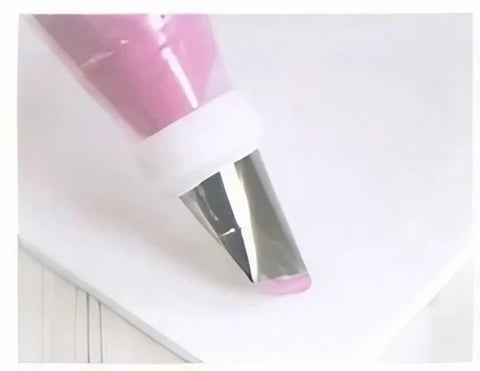
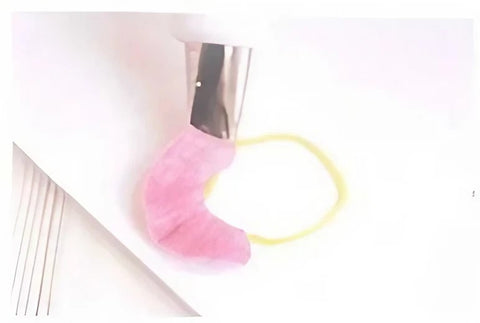
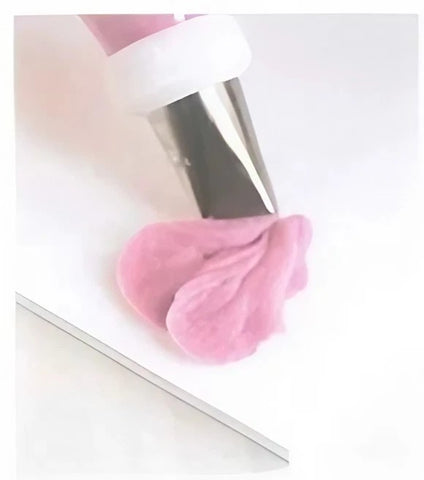
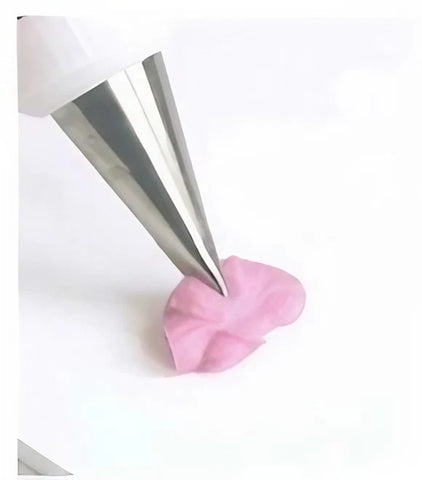
1.Simple Petal:
* Place the piping nozzle at a 20-30 degree angle to the surface, with the narrower side facing outward and the wider side touching the surface. The narrower side should point to the 12 o'clock position.

* Apply moderate pressure to the piping bag without rotating your hand or the bag.
* Maintain the wider side of the nozzle in place.
* Stop squeezing when a simple petal shape is formed, gently push the piping nozzle down or towards yourself before lifting it away for beautiful petal edges.
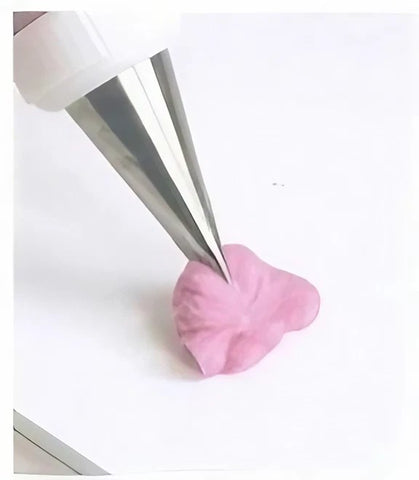
2.Fan-Shaped Petal:
* Similar to the simple petal, but with a continuous and even pressure while slowly turning the piping nozzle to the right (or left if using the left hand).
* Stop when the narrower side of the nozzle points to approximately the 2 o'clock position.
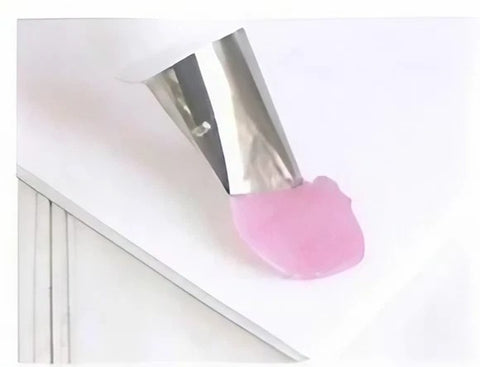
* Again, gently push the nozzle down or towards yourself to achieve beautiful petal edges.
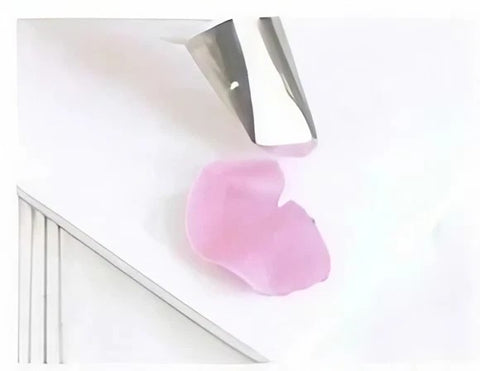
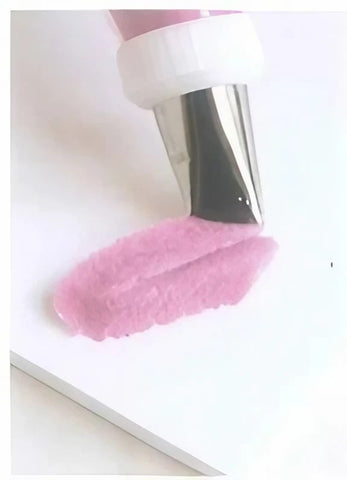
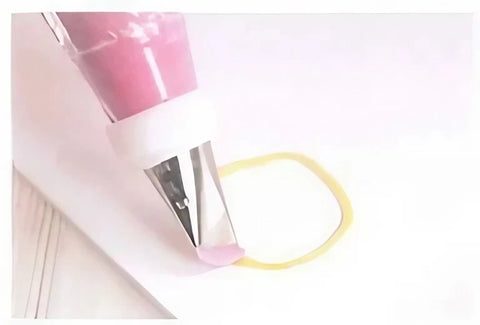
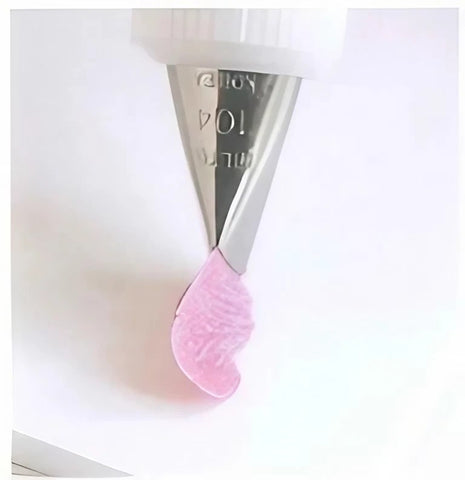
3.Satin Surface Petal:
* To create petals with a satin surface pattern, draw an auxiliary circle. Start piping anywhere, keeping the piping nozzle parallel to the tabletop, and the wider side touching or pointing towards the center of the auxiliary circle.
* Apply consistent and even pressure to pull the nozzle upward.
* When the desired petal length is achieved, stop and pull the nozzle away suddenly.
* These petals may have irregular edges initially, but after the buttercream slightly hardens, use a needle tool to refine the edges.
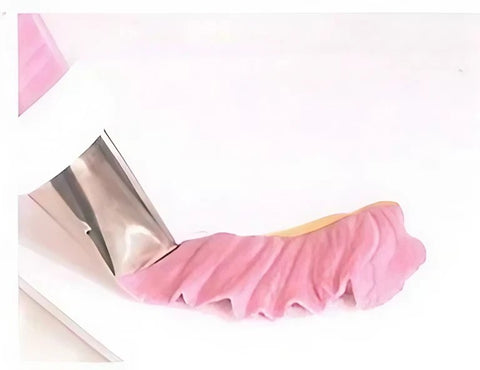
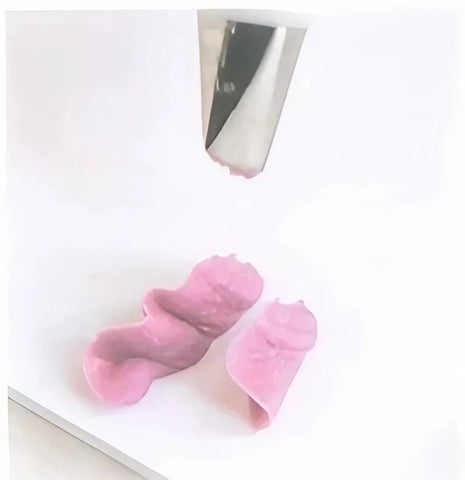
4.Wavy Petal:
* Similar to the simple petal, but with a slight up and down motion along a clockwise path (or counterclockwise if using the left hand).
* Continue squeezing until the desired petal length is reached.
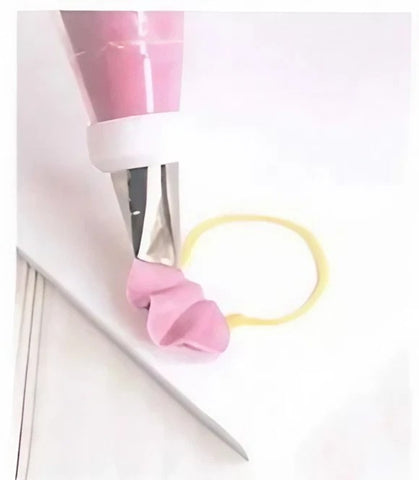
* Gently push the nozzle down or towards yourself for beautiful petal edges.
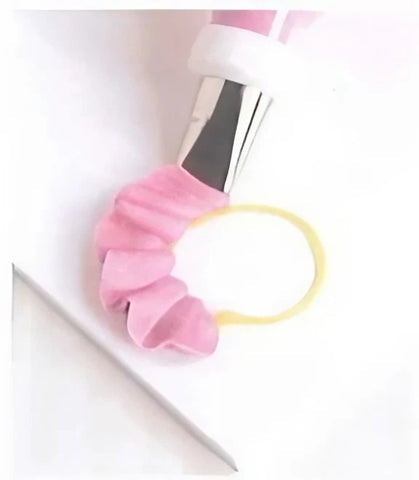
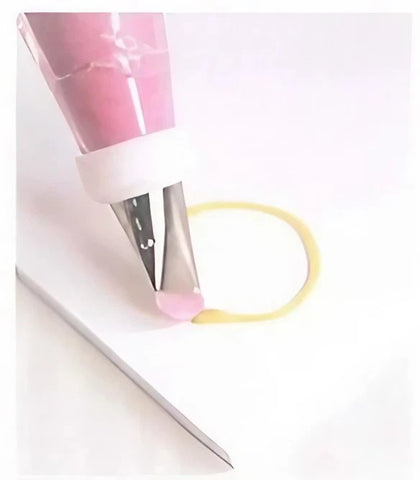
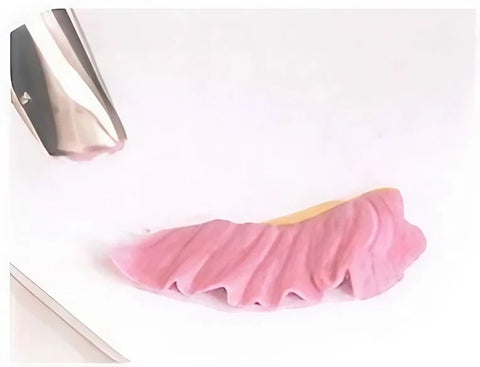
5.Elongated Curved Petal:
* Similar to the simple petal, but with a longer curved trajectory.
* Apply consistent pressure while moving the piping nozzle along the longer curved path, rotating clockwise (or counterclockwise if using the left hand).

*Stop squeezing when the desired petal length is reached. Gently push the nozzle down or towards yourself for beautiful petal edges.
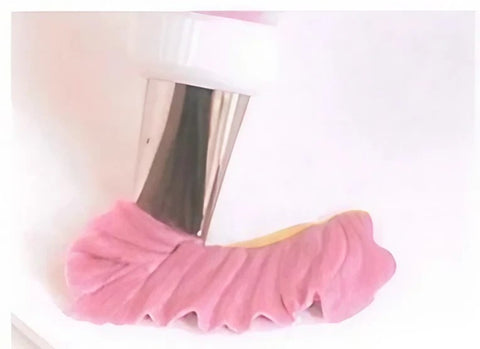
6.Double Row Petal:
* Position the piping nozzle facing left, parallel to the table surface, and pipe out half of the petal.

* Apply consistent and even pressure while gently moving the nozzle up and down until reaching the top of the petal.
* When at the top, push and release the nozzle from the table to taper the top. To create a rounded top, skip directly to step 5.
* Rotate the nozzle to the right while ensuring the wider side still points toward the center of the petal to avoid gaps. Similarly, gently move the nozzle up and down to pipe the other half of the petal.
* If aiming for a rounded top, shift the piping bag directly after finishing the first half of the petal before piping the second half.
* This technique can also be used to create a smooth double-row petal by moving horizontally without up and down nozzle movement.
7.Heart-Shaped Petal:
* Position the piping nozzle parallel to the table, with the narrower side facing outward and the wider side touching the surface. The narrower side should point towards the 10 o'clock position (2 o'clock if using the left hand).
* Apply consistent pressure while gradually pulling the nozzle upwards until the desired petal length is achieved. Carefully turn the nozzle a half-circle to the right and push the nozzle downwards before lifting it away.
* Place the nozzle at the point where you stopped piping previously and start piping the other half of the petal.
* Then, apply pressure to create a small arc of equal height to the first half.
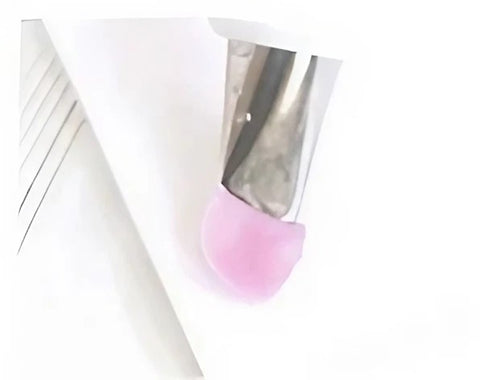
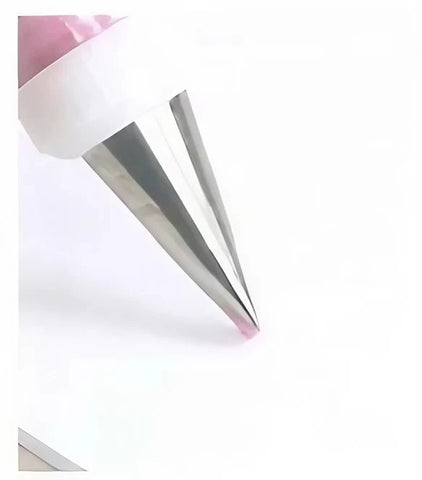
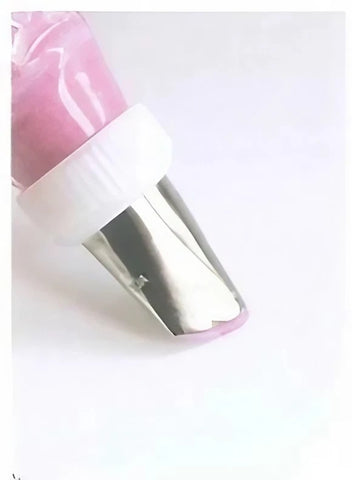
8.Three-Dimensional Petal:
* Hold the piping bag with the opening facing down, perpendicular to the tabletop.

* Apply moderate pressure to create an upright petal. You can pull the nozzle down to make a longer petal or gently wiggle the nozzle to create a wavy effect.
* Push down the upright petal to complete it.
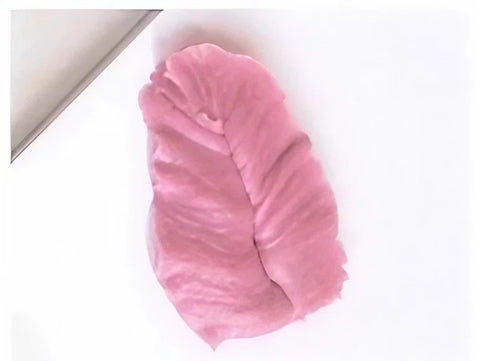
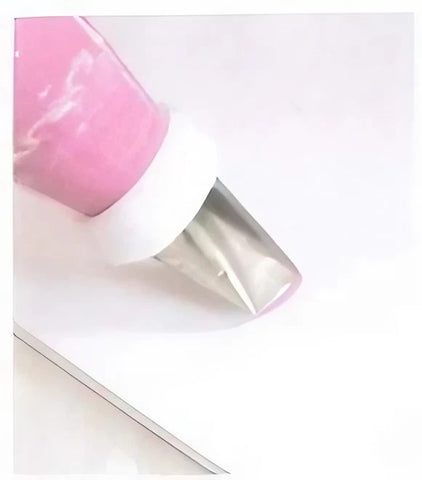
9.Leaf-Shaped Petal (Leaf Piping Technique):
* Position the piping nozzle at a 20-30 degree angle to the surface, ensuring one end touches the tabletop.
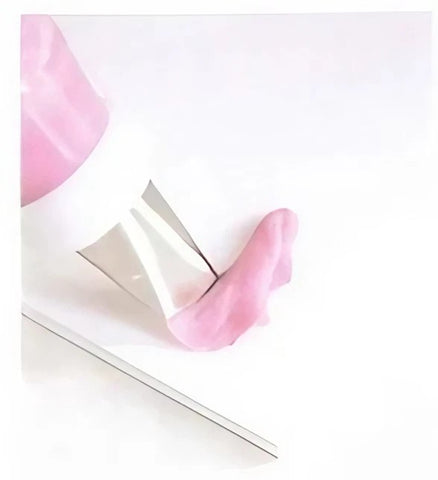
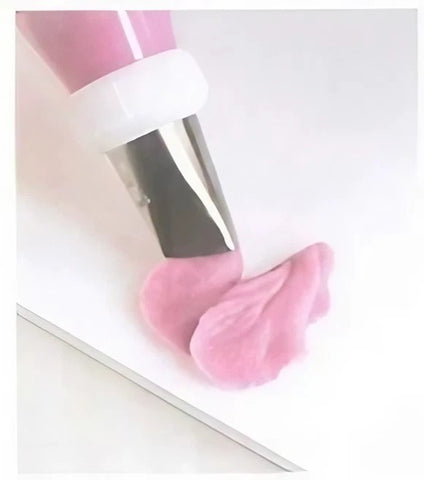
* Apply consistent pressure to pipe a wider base.
* Gradually reduce the pressure while pulling the bag until reaching the desired petal length.
* Once achieved, apply pressure again and quickly pull away the nozzle.

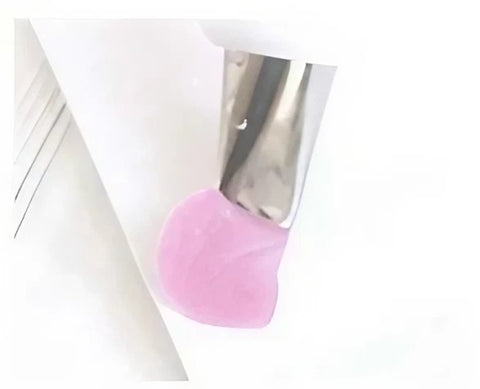
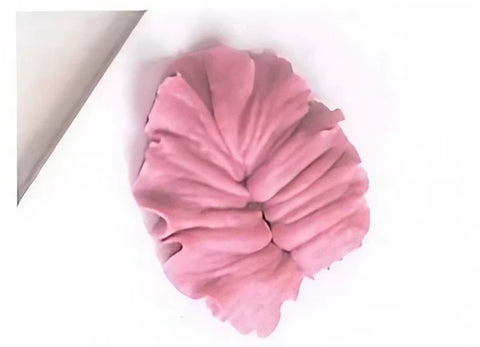
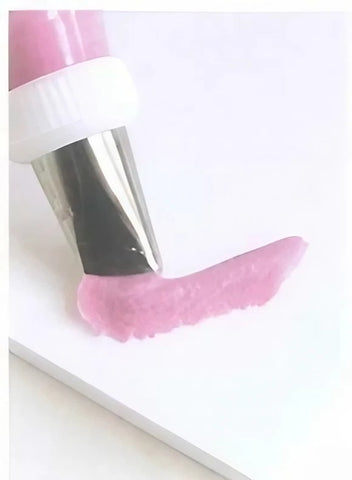
10.Concave-Convex Petal:
* Place the piping nozzle flat against the tabletop.
* Move the piping bag horizontally until the desired petal length is piped.
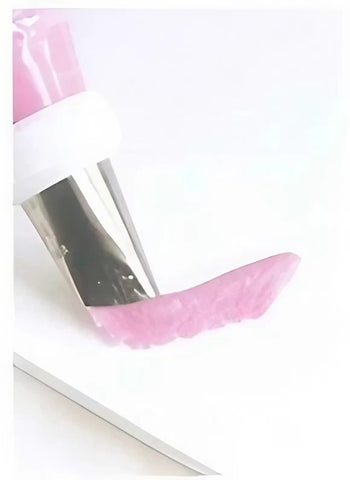
* Create a sharp turn to form a rounded, not arched, top of the petal.
* Apply the same pressure to bring the nozzle back to the starting point of the petal.